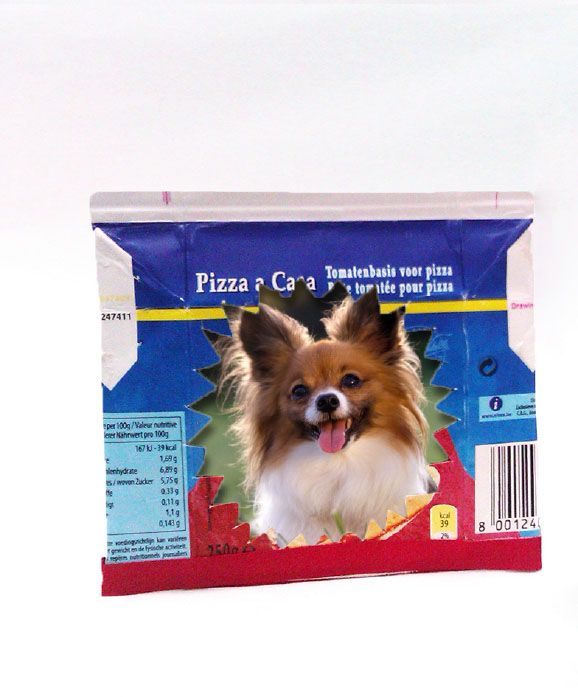
Before starting to work, first rinse your tetrabrik and allow it to dry. Then open the 4 corners and flatten the tetrabrik. You now have a 12 cm x 11 cm rectangle. Then determine the shape of your photo frame and cut it with a cutter (cutting knife) in the front of the brick. In the back, make a small "support" to support the weight of your photo frame.
Take the back side and draw an approximately 8 cm oblique line in the centre with a felt pen and cut along the line using a cutter (cutting knife). For the small back support, cut a 3-cm horizontal line at the end of the oblique line. You now have half a triangle that you can easily extract and use as a back support.
Finally, draw a last horizontal line with your cutter (cutting knife) cutter on the back, 2 cm from the oblique line and then insert your photo, printed side facing forward.
Place it in a visible spot and enjoy admiring your DIY photo frame.

Small photo frame
What do you need?
ELVEA (tetrabrik, 250g Pizza a Casa)A cutter – a cutting knife
A ruler
A pen
A photo